ATTENTION : This module is distributed by subscription. By subscribing you get access to all make shop modules.
Please note: modules will only work with an active subscription!
The add-on allows you to output different information at the very top of the site as an info panel. This way you can notify customers about promotions and other important information. And it can also show a form for entering a phone number or e-mail for example, if the promotion requires visitors' contacts.
The info panel is displayed on a schedule accurate to the minute. Its design can be configured in according to the stylistics of your site. The message displayed on the panel can be closed at any convenient moment so it does not distract you.
A private scenario for using the add-on is to inform your customers about the website schedule for holidays or promotions. Thanks to the built-in constructor it can be done without the cost of designers and programmers. The add-on will also allow you to quickly and easily collect contact information for customers who don't want to register but can spend a little time filling out a single field.
- Configurable design;
- Timed message display;
- Unlimited text;
- Inserting images, videos, tables and html code;
- Ability for the client to close the panel;
- Output of the form for collecting contact data
- Ability to import and export data collected by the info panel
- Store Builder
- Store Builder Ultimate
- Multi-Vendor
- Multi-Vendor Plus
- Multi-Vendor Ultimate
- Vendors
- English
- Русский
- 4.18.X
- 4.17.X
- 4.16.X
- 4.15.X
- 4.14.X
- 4.13.X
- 4.12.X
Оформление подписки
Мы переходим на новую подписную систему, открывая для вас полный доступ ко всем нашим модулям. Подробную информацию об условиях подписки и часто задаваемых вопросах вы можете найти здесь.
Обратите внимание, что приобретение модулей по отдельности теперь недоступно — воспользоваться ими возможно исключительно в рамках подписки.
За единую стоимость подписки - 2000 руб/мес. Вы получаете доступ ко всем модулям.
Как оформить подписку у нас на сайте
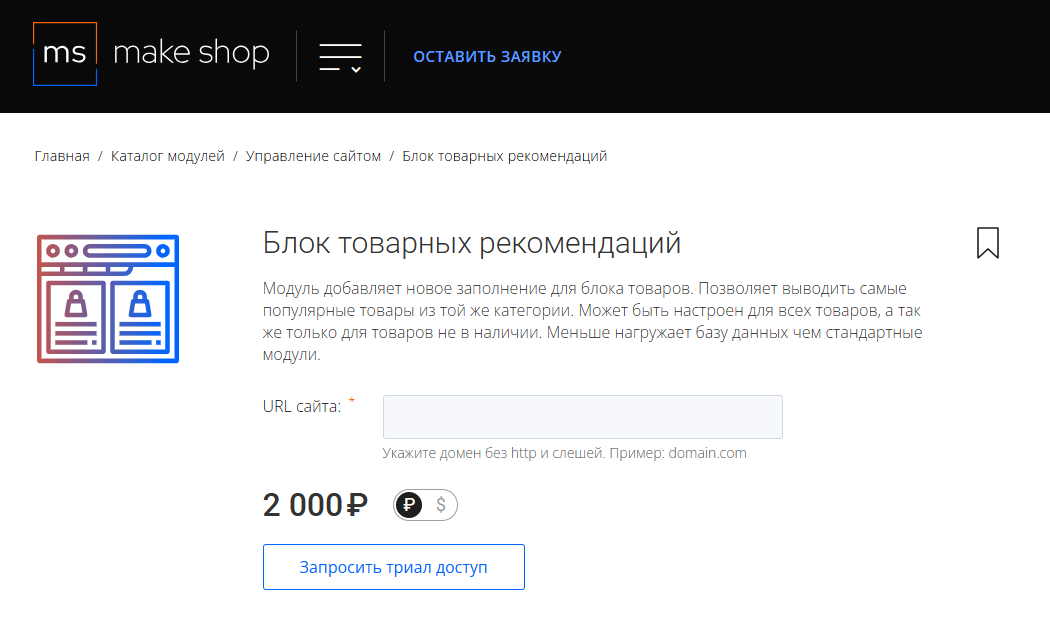
Зарегистрируйтесь или авторизуйтесь на нашем сайте и выберите интересующий вас модуль
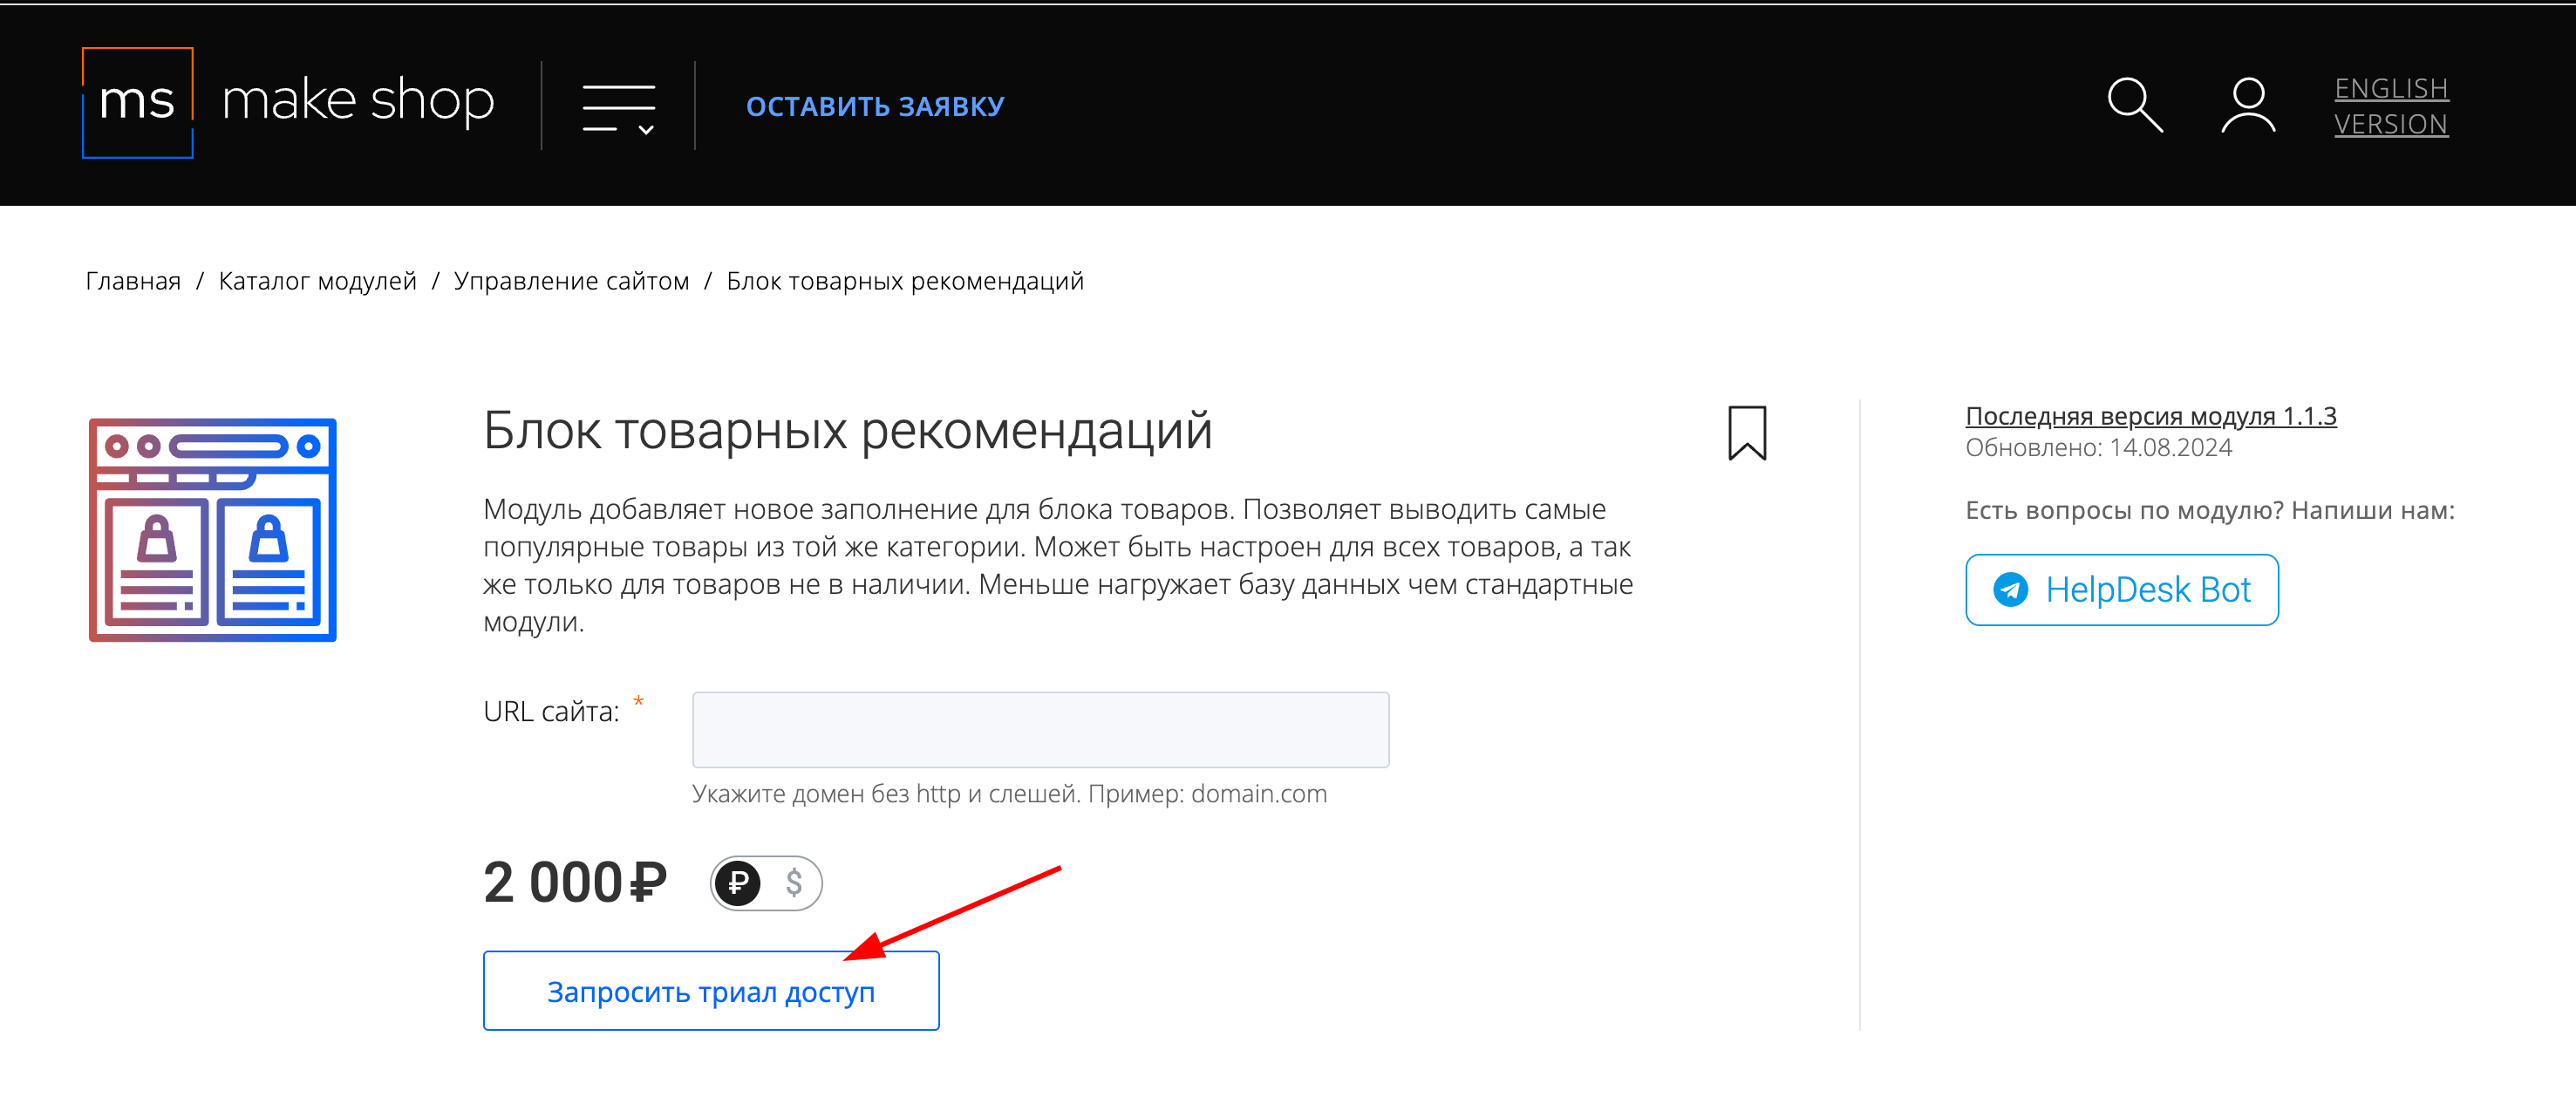
Нажмите кнопку Запросить триал доступ
Введите в поле URL сайта ваш домен в формате domain.com, без www и https://
Далее в личном кабинете в разделе загрузки вы сможете скачать нужный вам модуль и менеджер модулей для удобного управления модулями и оформления подписки.
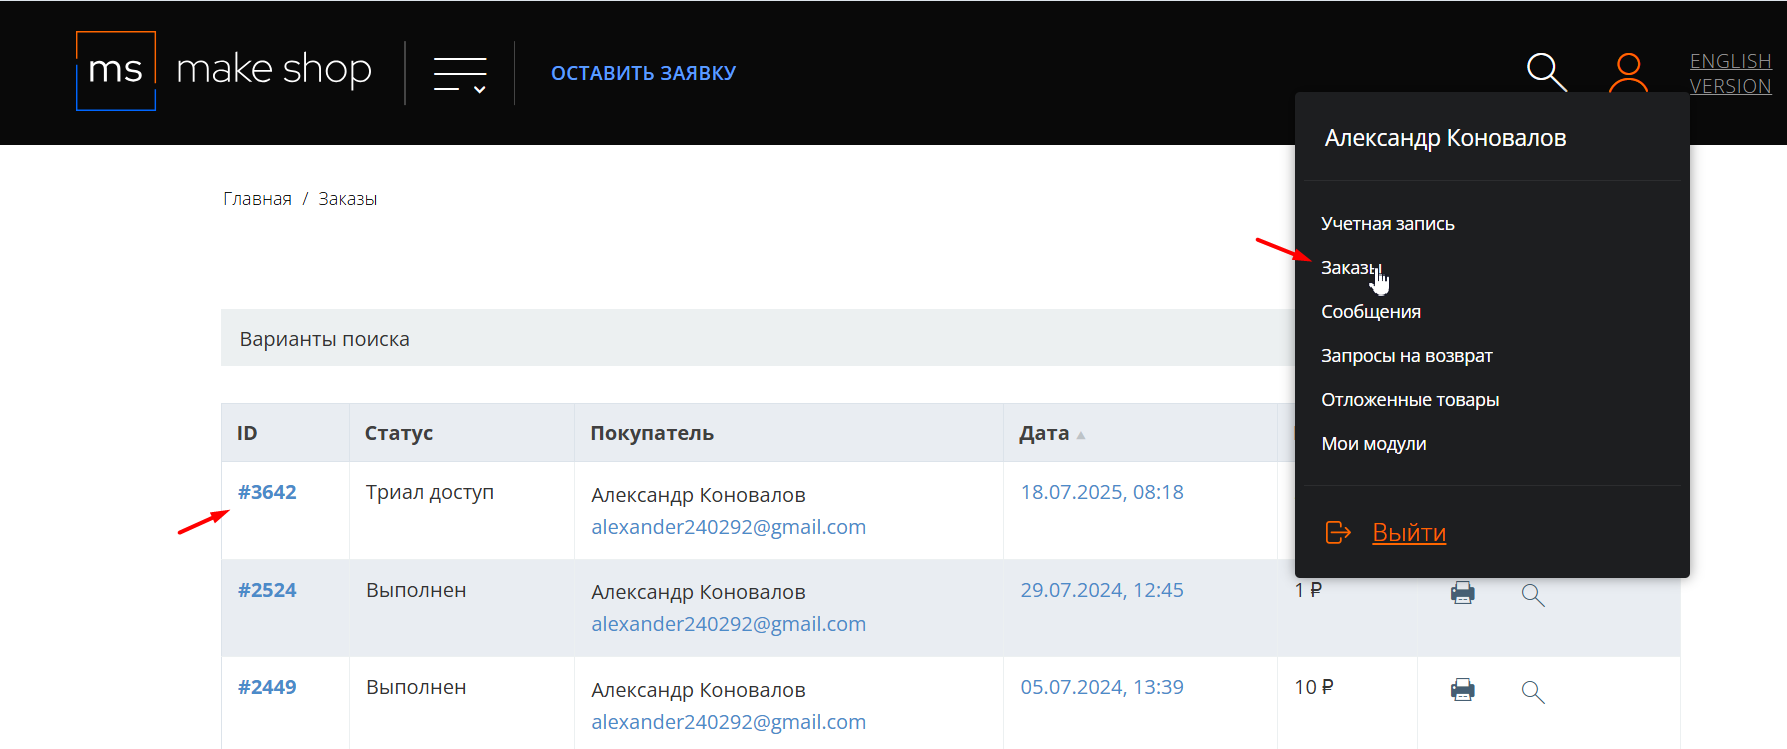
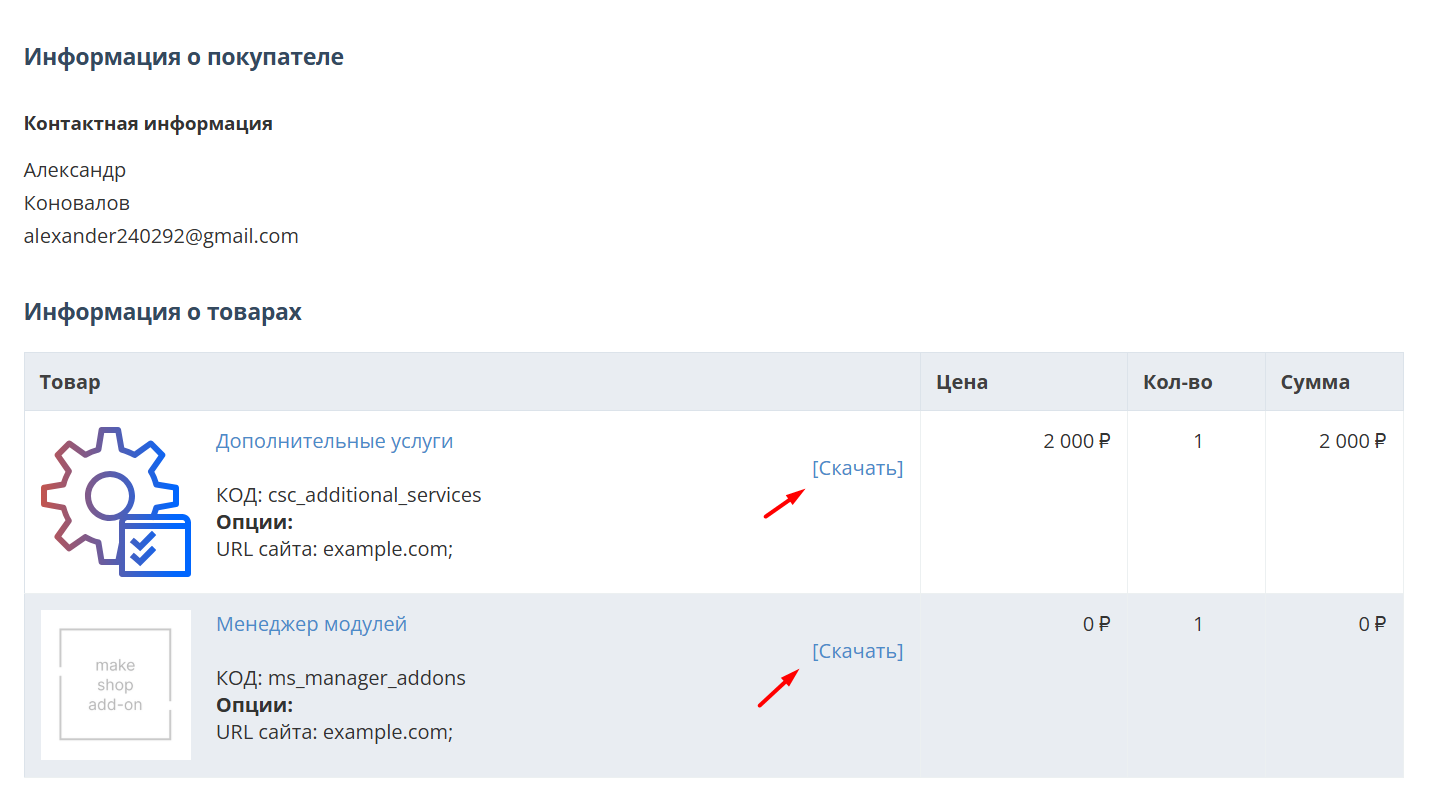
Далее у вас есть 7 дней для тестирования выбранного модуля.
По истечении строка триала, для продолжения работы необходимо оплатить подписку.
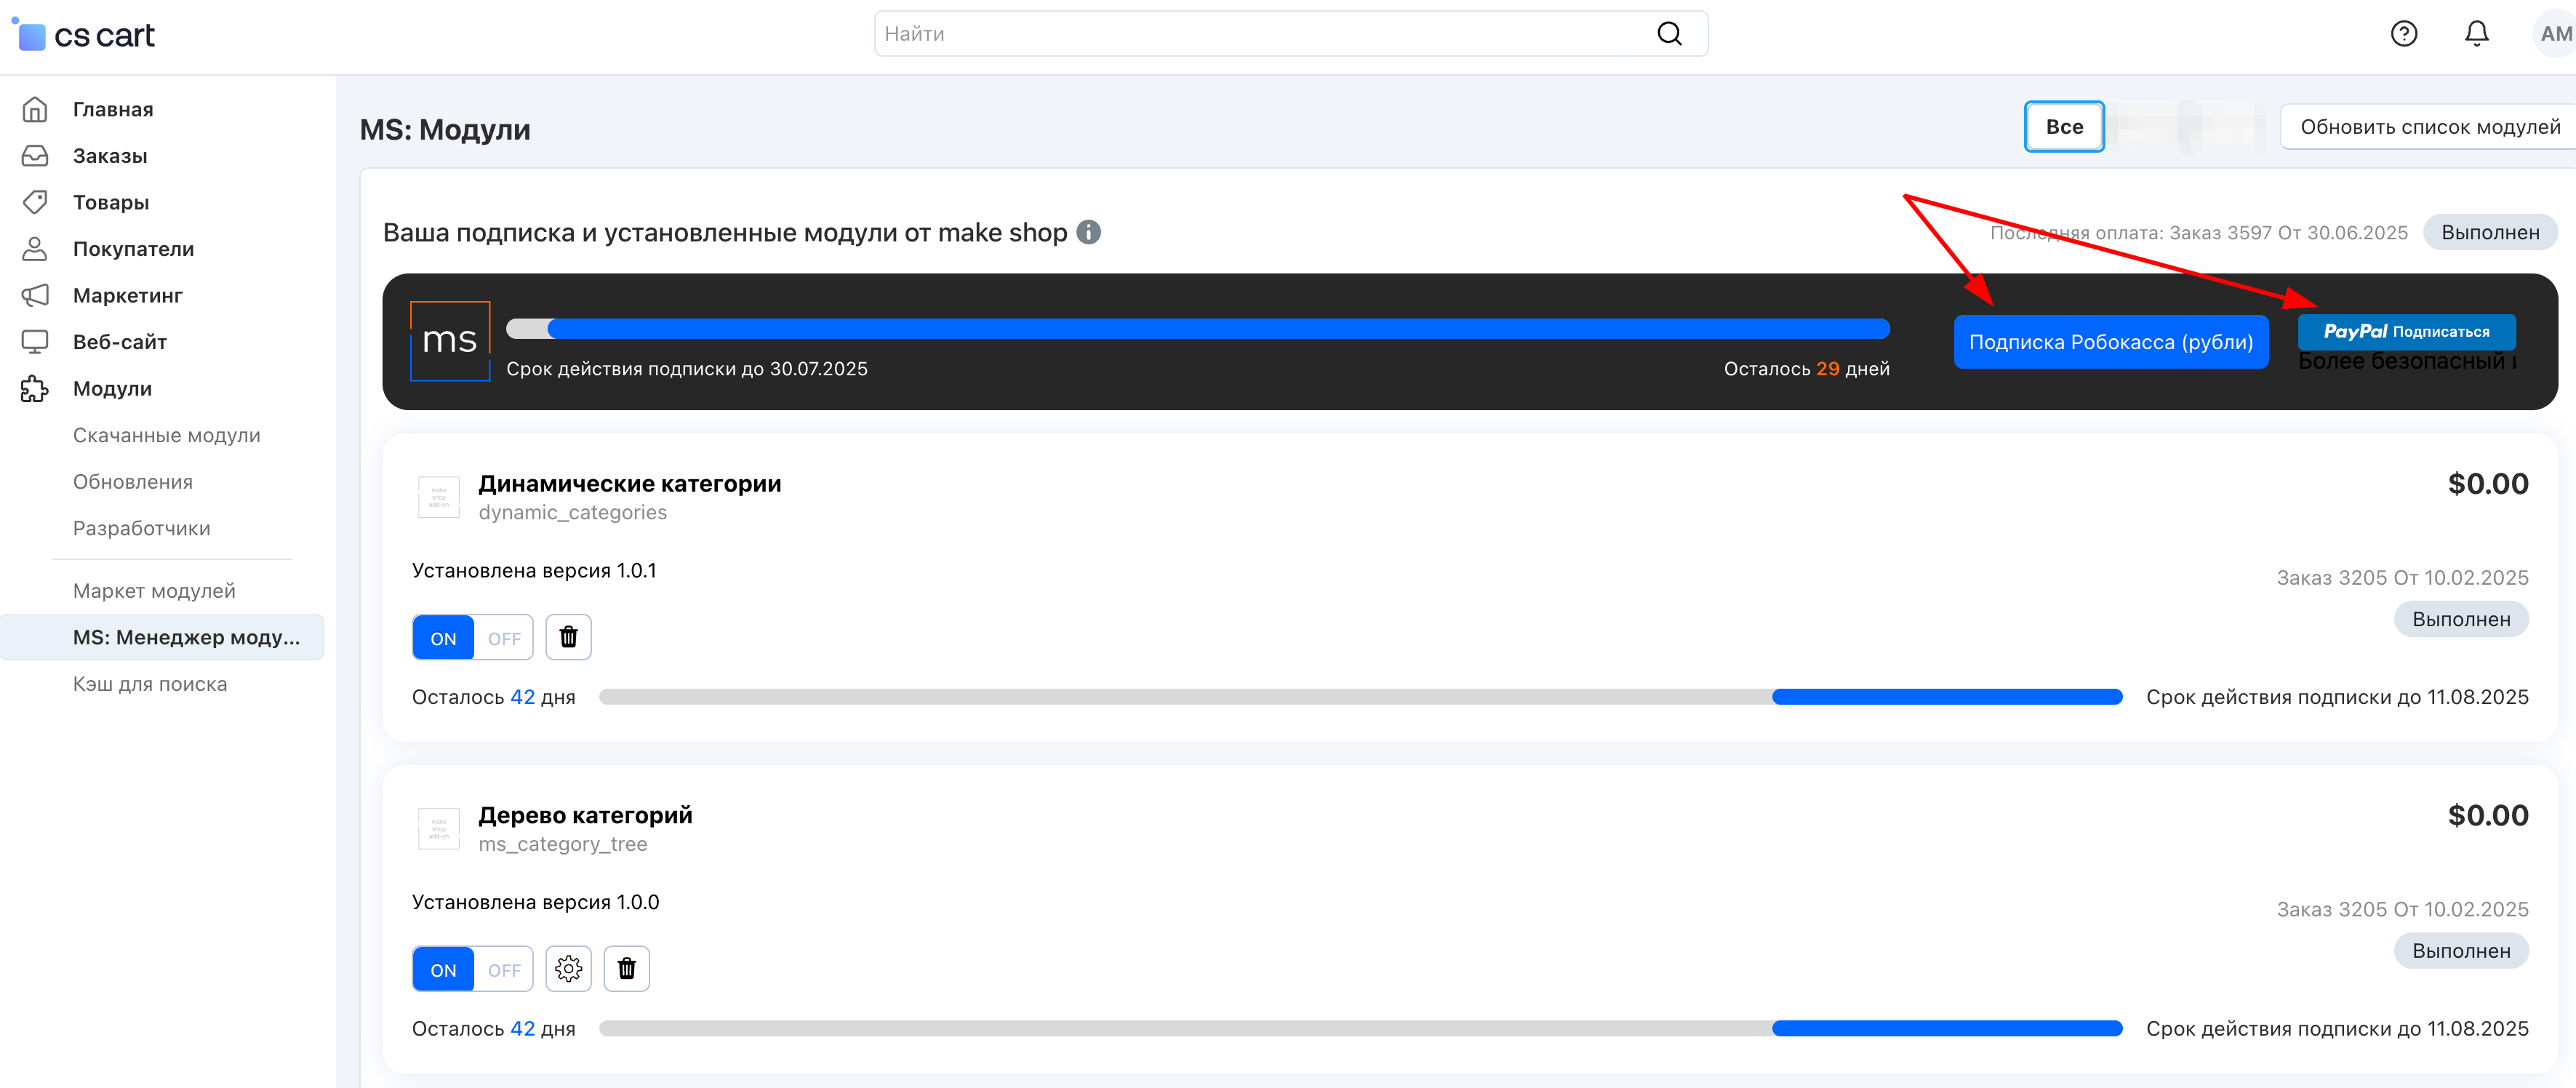
Сделать это можно из менеджера модулей.
На выбор вы можете оплатить:
для зарубежных карт - PayPal
для РФ карт - Robokassa
Или на странице на сайте https://makeshop.pro/subscription/
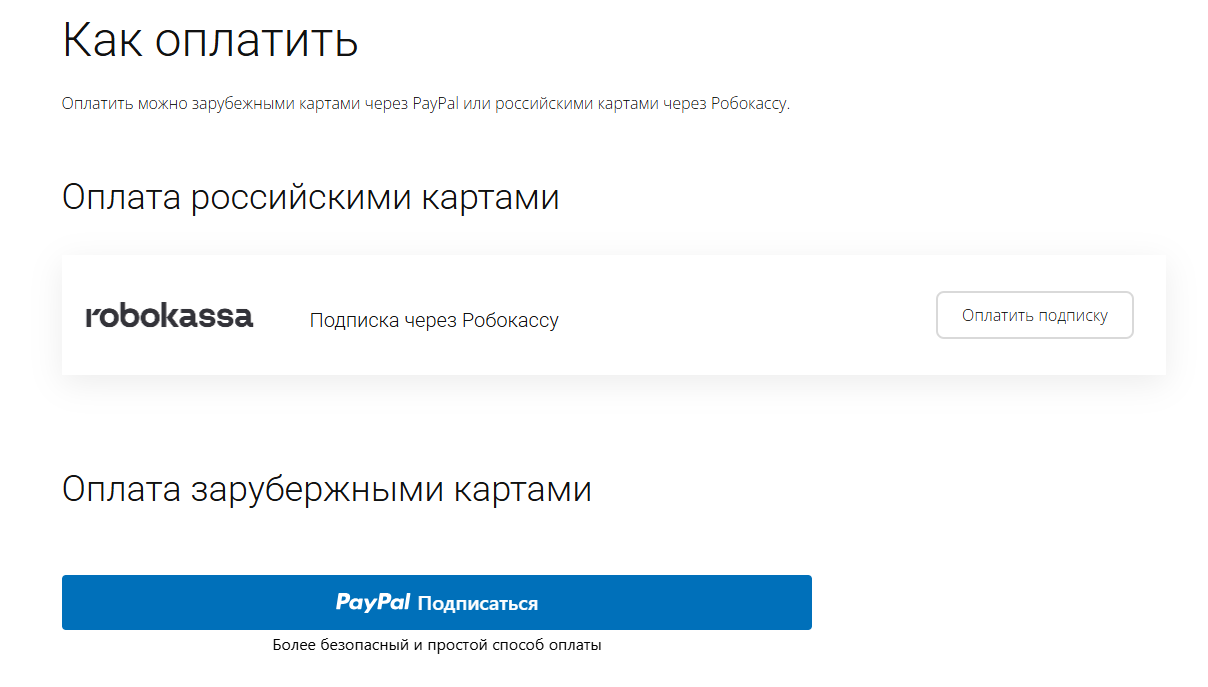
При оплате нужно указать электронную почту с которой вы оформляли триал доступ.
При покупке на маркетплейсе CS-Cart
При покупке любого модуля зарубежной картой или картой РФ
Так как система при оформлении подписки не спрашивает дополнительных вопросов (на какой домен подписка оформляется) желательно вводить электронную почту ту же что и ваша учетная запись у нас на сайте (если она есть), тогда ваши учётки свяжутся между собой.
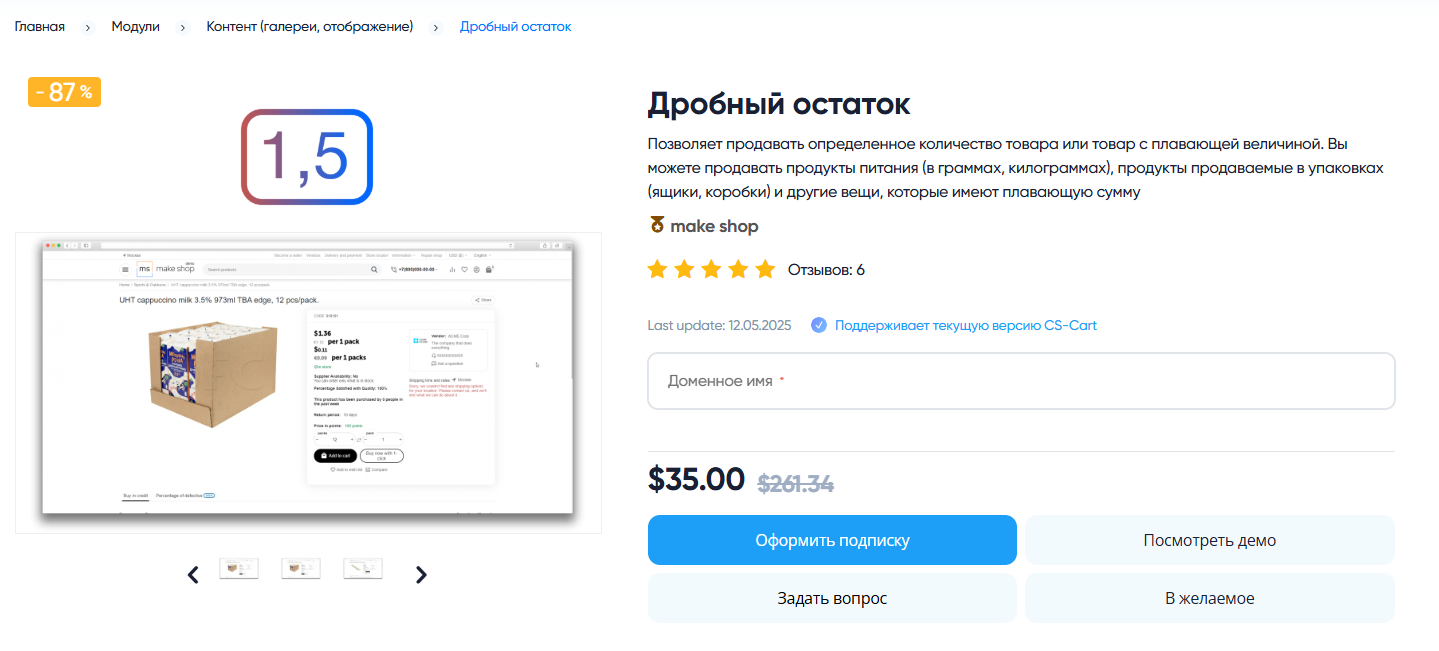
Выберите интересующий модуль и нажмите кнопку “Оформить подписку“
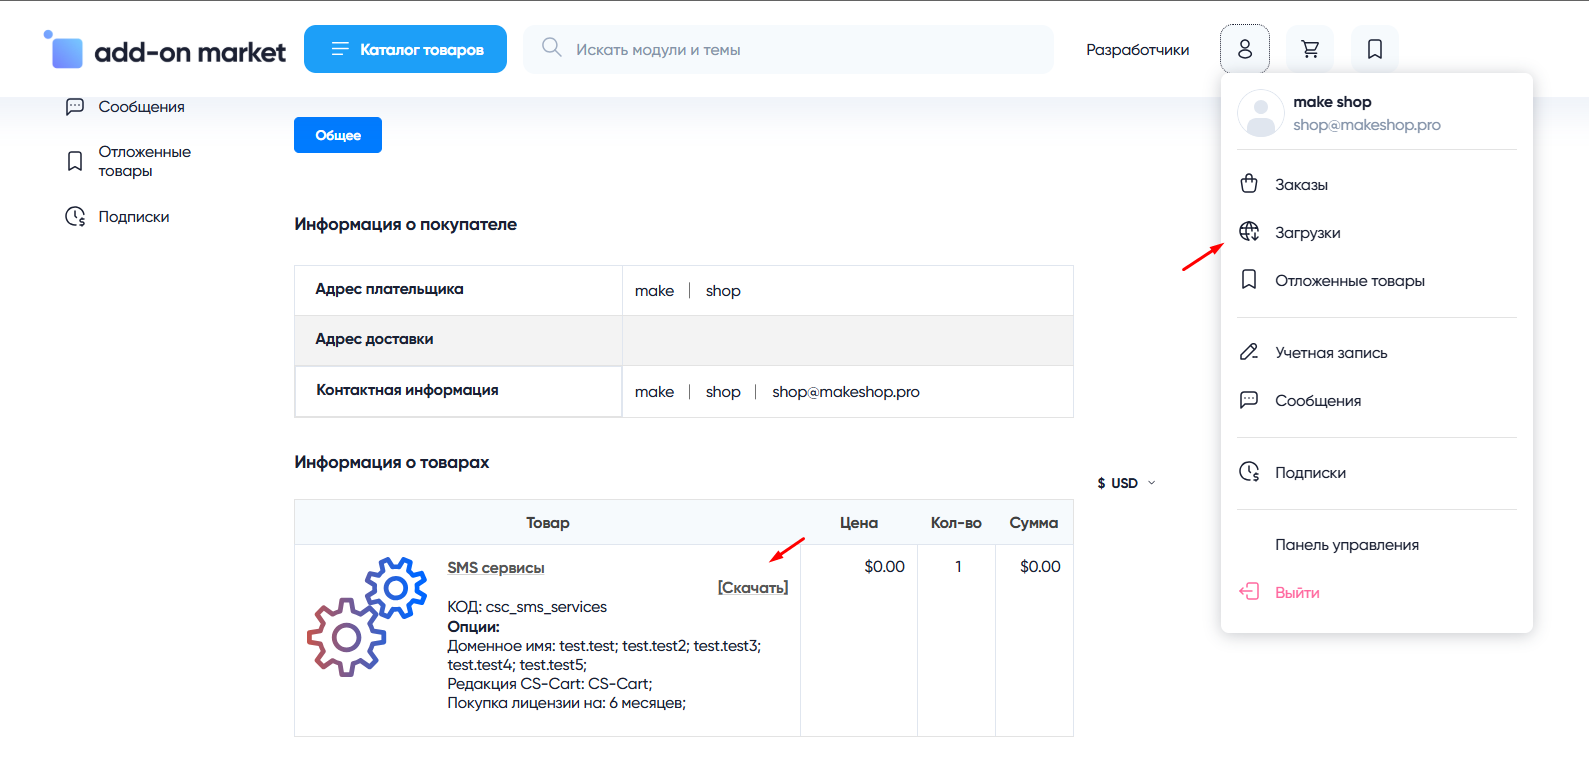
Далее после оплаты подписки вы сможете скачать модуль перейдя в раздел “Загрузки“, там выберите свой заказ и в нем будет ссылка на скачивание.
В дальнейшем, для получения новых модулей по подписке рекомендуем пользоваться нашим сайтом.
Всё что вам будет нужно сделать это на интересующем вас модуле (после авторизации) нажать кнопку “Запросить модуль по подписке“ и после одобрения скачать его в разделе загрузки.
Если что-то пойдет не так - проверьте выписалась ли лицензия
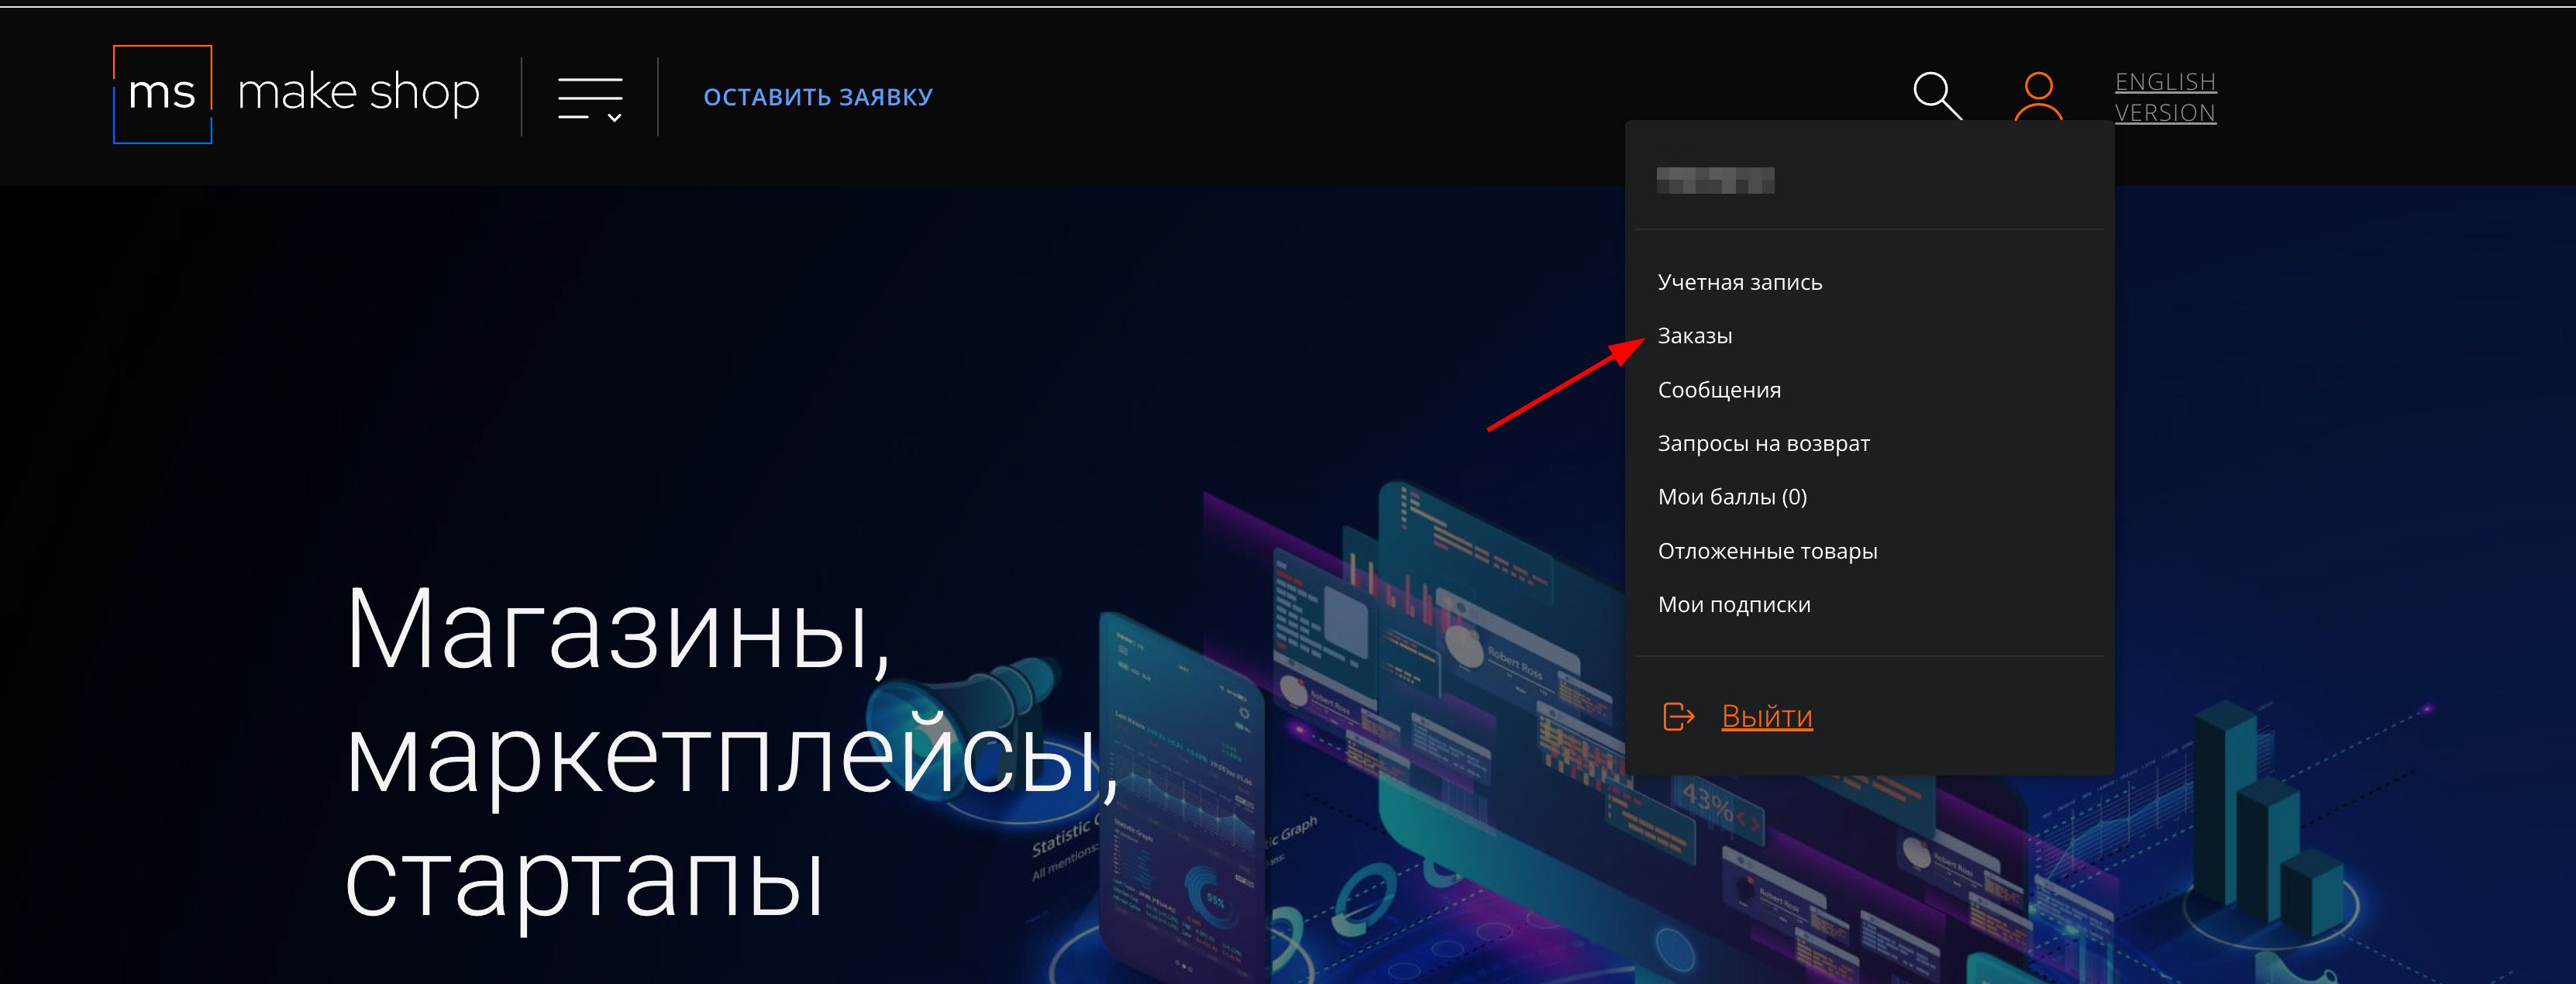
Найдите заказ с датой оформления подписки
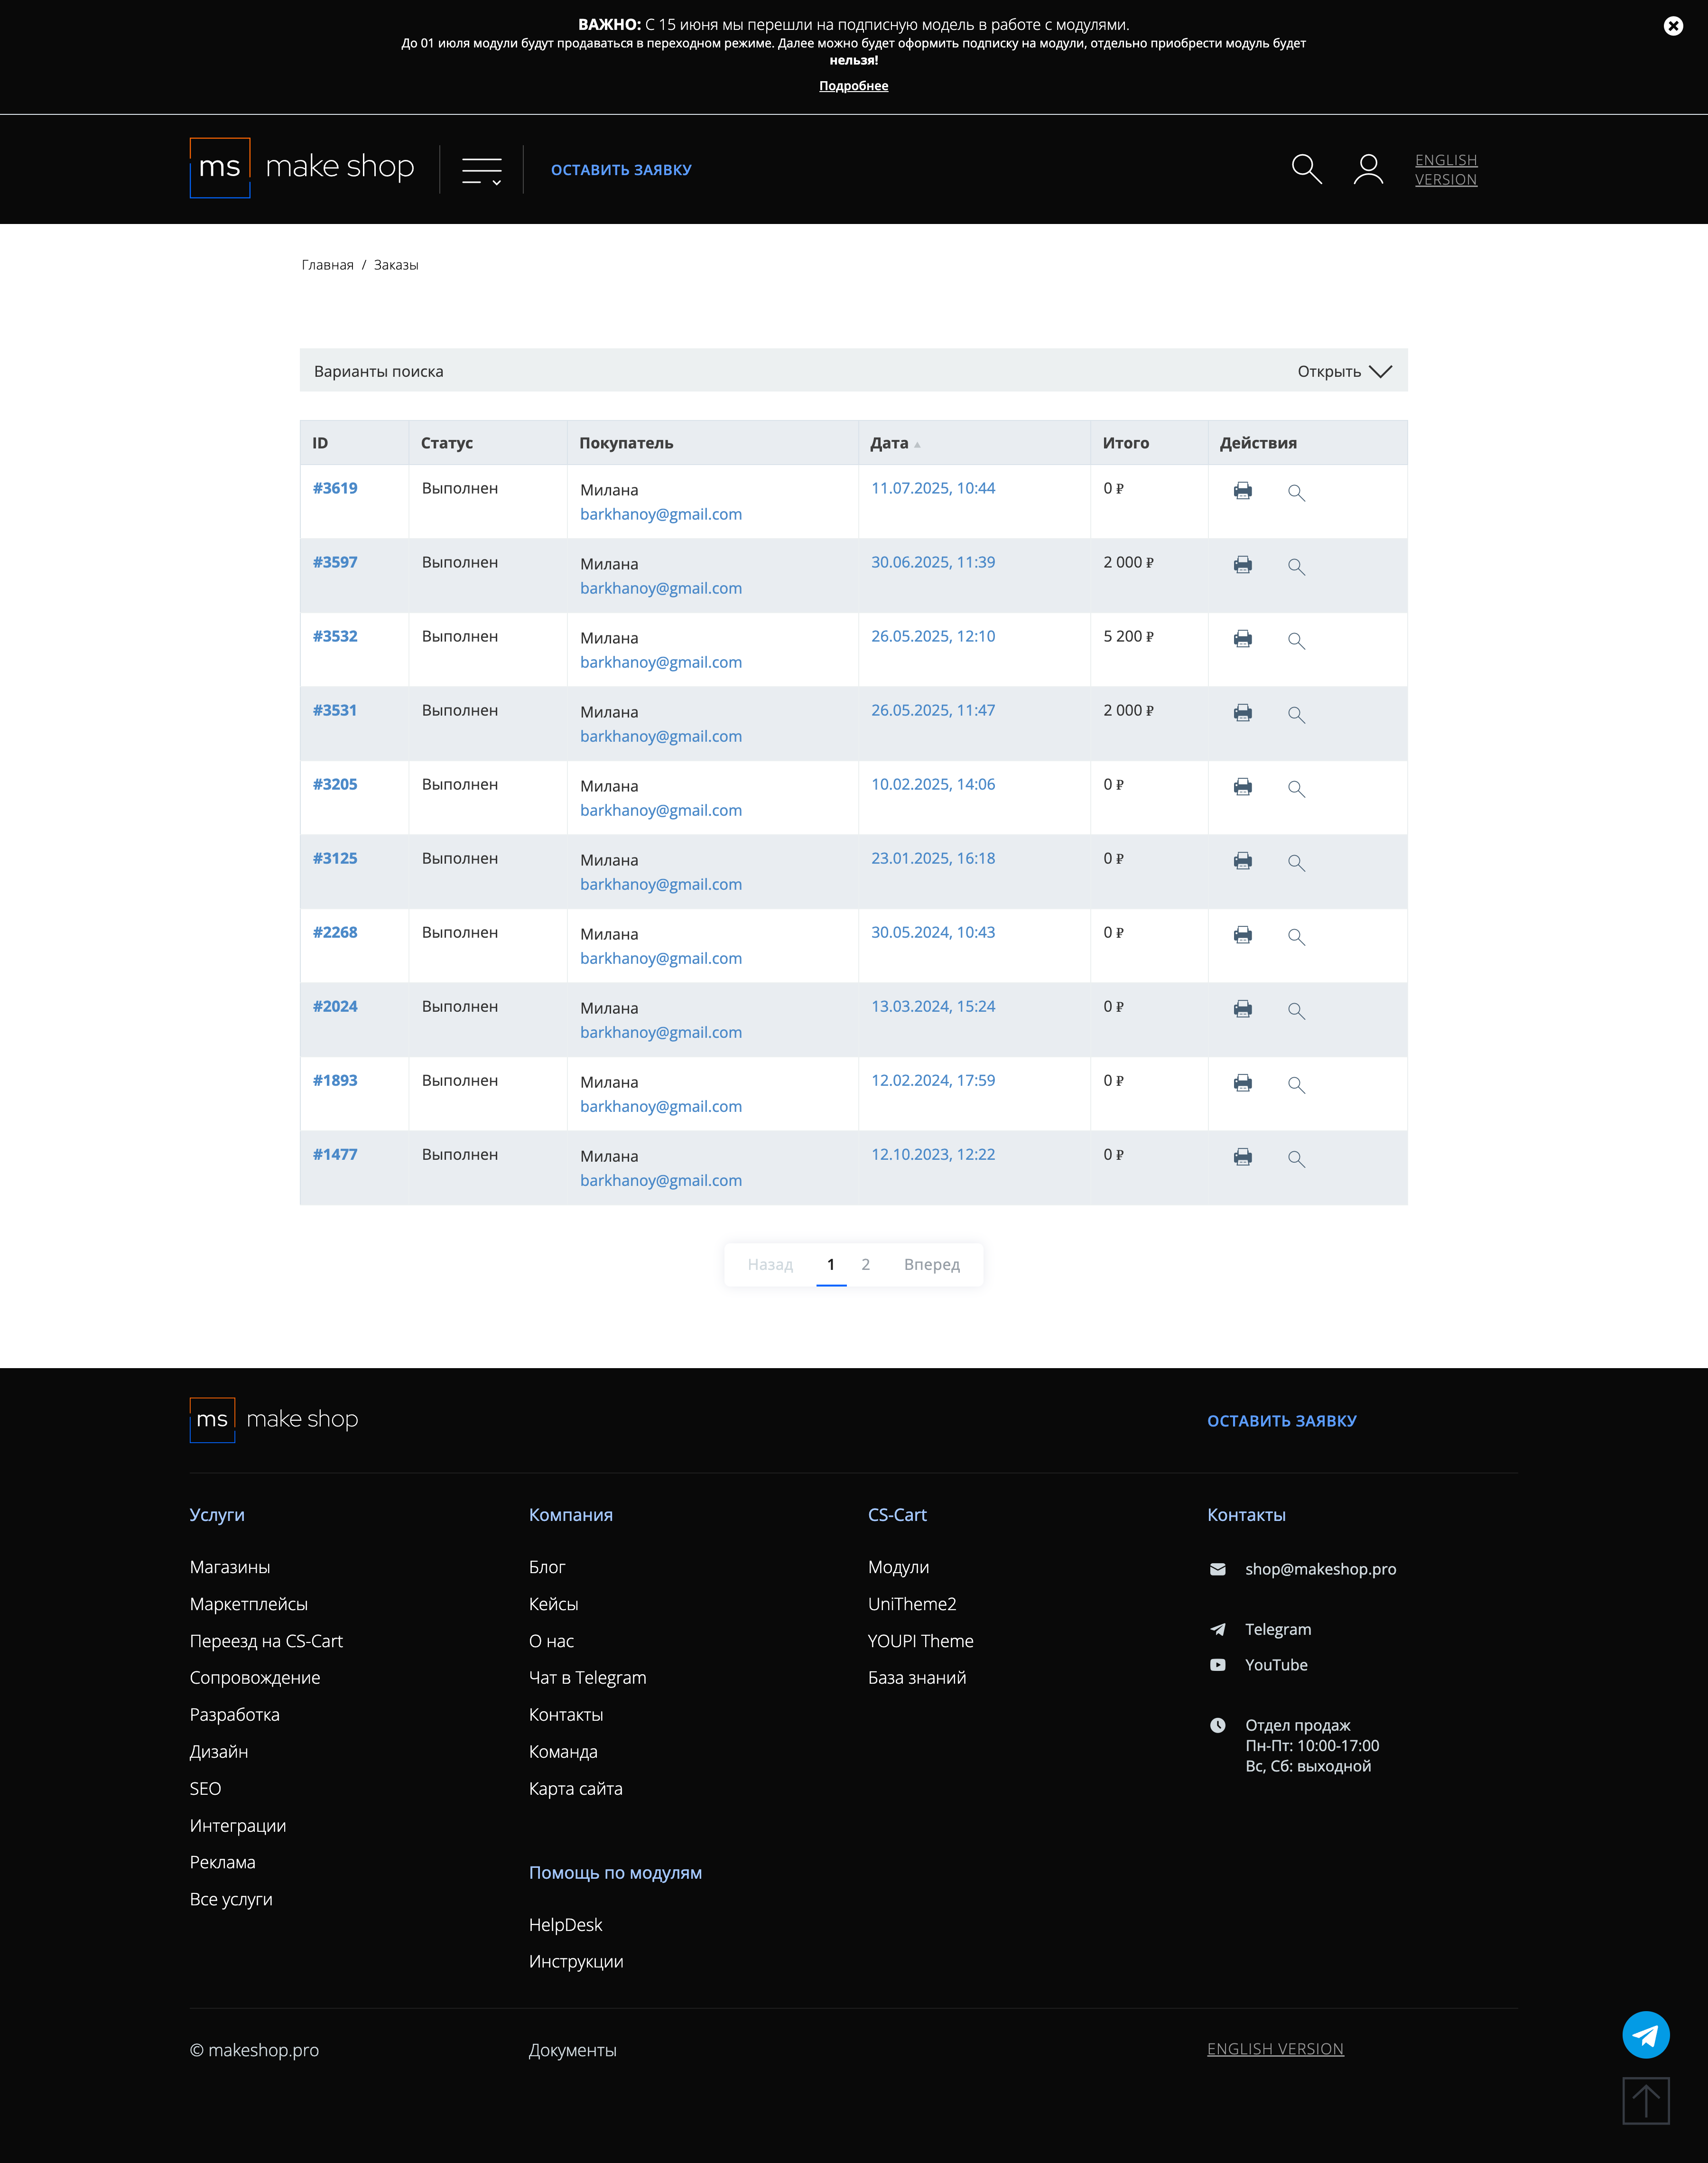
Убедитесь что у вас прописался URL сайта в заказ
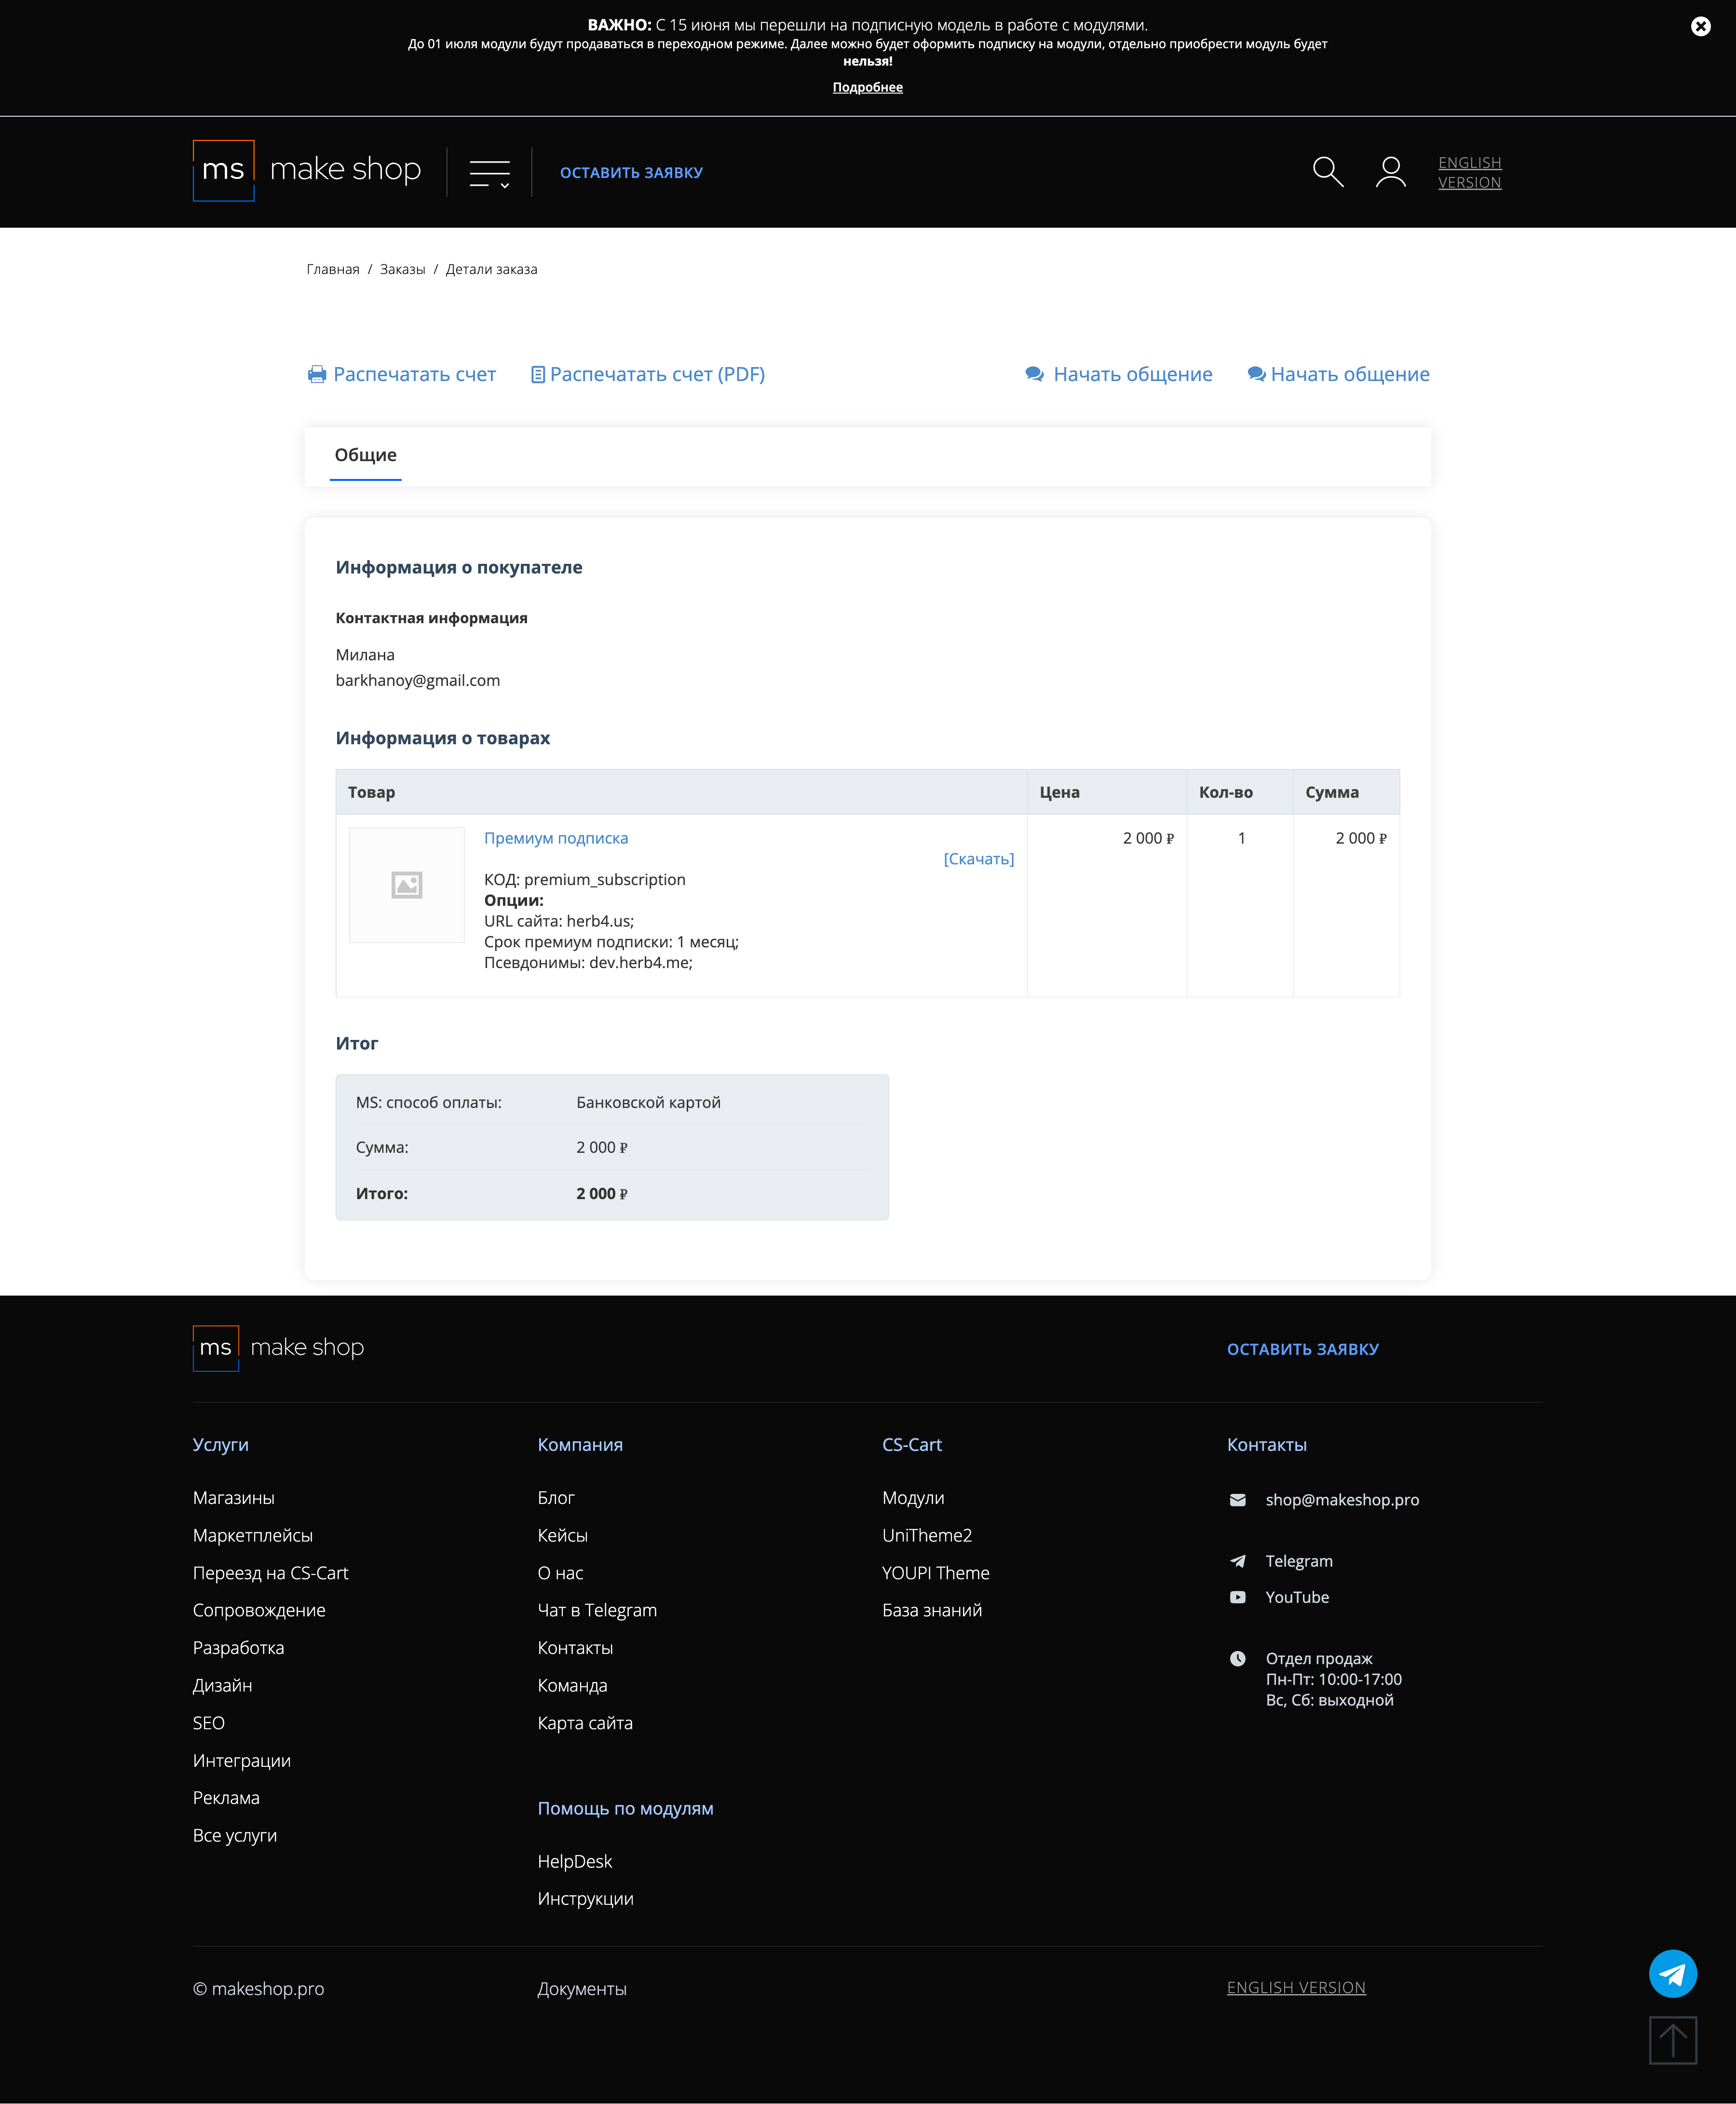
Если URL сайта неправильный и вам нужно обновить его: переходите в пункт меню “Мои модули”
Ищите модуль и проверьте URL магазина для которого выписана подписка
There are no settings in the add-on itself, there are two links to the list page of information panels and the page export data collected through a form on the panels.

To create a dashboard, follow the link to the Marketing → Dashboard page and click the Plus button

we get to the creation window, where you set the appearance of the texts, their color, background color.

The important points in the setup:
It is imperative to set the correct time of display, if you do not specify that the panel will not be displayed.
You can create several panels at once, specifying them different times of display.
The operating mode of the panel is promo or data collection.

Promo is just a banner that is displayed on the site;Data collection is a form with an input field that allows you to collect mail or phone number from visitors.
The mode of operation of the field to enter the main content is designer and text

Constructor is just a text field where you need to input html-codeText is an input field with a visual editor to customize text like in an office editor.
After the panel is created it still needs to be placed in the site layout.
Go to Design → Layouts, default page and add a section

Set the full width of the layout, 16 columns

And move it to the right part of the page, for example upwards

We add a new block in it

select the MS: Info-Panel block

Let's give a name for the block

and on the Content tab select the Manual and click Add info panel

In the window that will open you need to select the desired panel and here click Add info-panel

Panels are added to the block, then click Create

Example of a panel in Promo mode:

And in Data Collection mode:

To export you follow the link from the add-on settings, then choose which fields you want to unload
v3.1.2 from 04.11.2024
[+] Added the ability to show the info panel in the admin and vendor panels
[+] Added the setting "Hide the panel and do not show until the end of the session"
[!] Fixed the incorrect logic of the setting "Time for repeated display (in hours)"
v3.1.1 from 29.05.2024
[+] Added migrations when installing the add-on and when updating it through the update center
[*] Added a check for the add-on setting "Display in block" when displaying info panels
[*] Corrected the display of info panels when the setting "display in block" is disabled and when a block is created in layouts
v3.1.0 from 08.09.2023
[+] Added multi-showcase
[!] Fixed a bug related to calling a non-existent function left over from previous versions add-on
[*] Corrected design and output of the template without creating a block
v3.0.19 from 05/02/2023
[*] Setting the default height of the panel
v3.0.18 from 04/03/2023
[*] Minor edit
v3.0.17 from 04/03/2023
[+] Added add-on setting and the ability to pin panels to the top when scrolling the screen
v3.0.16 from 03/27/2023
[+] Added the "Display in block" add-on setting and implemented an algorithm for displaying panels outside the block if the setting is disabled [] Date and time in the "Show by" field are not filled in by default [] Changed the header shadow to black by default
v3.0.15 from 12/27/2022
[-] Unused part of the code was removed (it is necessary to carry out a global check)
v3.0.14 from 12/27/2022
[!] Fixed an error when switching to the no_page page
v3.0.13 from 12/16/2022
[+] Add-on standardization
v3.0.12 from 10/26/2022
[+] Added the ability to select the method of filling ALL when all active panels are added [+] Added a block icon
v3.0.11 from 10/18/2022
[+] Added several styles and additional classes to be able to apply additional styles and clients
v3.0.10 from 09/27/2022
[+] Add-on standardization
v3.0.9 from 08/18/2022
[*] Fixed: the panel is now displayed from the date and time "Show from" to the date and time "Show by", it was from the date "Show from" to the date "Show by" and within this date interval, the time "Show from" and "Show by" were also checked daily.
v3.0.8 from 08/09/2022
[+] Added the setting "Pin the panel when scrolling"
v3.0.7 from 08/08/2022
[*] Corrected styles: the background is centered in the admin panel and on the showcase.
v3.0.6 from 08/02/2022
[] Moved the heading to the center, closer to the main text [] Moved the button/input field with the button to the center
v3.0.5 from 07/18/2022
[!] It was impossible to change content in different languages, fixed
v3.0.4 from 07/18/2022
[*] Changed language variables
v3.0.3 from 07/15/2022
[!] The color of the close button did not recolor the close text, fixed
v3.0.2 from 07/08/2022
[*] Standardization of add-on code
v3.0.0 from 07/05/2022
[*] Minor but critical edits
v3.0.0 from 07/04/2022
[*] Reworked creating an info panel, adding the ability to create and edit multiple info panels
[*] Reworked info panel data export
v2.0.3 from 05/13/2022
[*] Old add-on templates from the themes_repository folder have been replaced with new ones
v2.0.2 from 03/10/2022
[!] Fixed a controller error on page 404
v2.0.1 from 03/05/2022
[!] Removed an unused line in init.post
v2.0.0 from 03/02/2022
[+] Added font and color settings
[+] Added panel text settings
[+] Added the ability to add a photo to the background for three resolutions
[+] Added font and color settings
[+] Added a choice of two panel modes (collecting email or phone numbers and following a link when clicking on button)
v1.0.0 from 22.12.2021
[+] First edition
Отображение ед. измерения в настройках
Изменить внешний вид или добавить описание полей
Скрытие панели пока сессия пользователя открыта
Скрытие панели пока сессия пользователя открыта
Информационная панель для вендоров
Инфо сообщения для вендоров
Ваш запрос отправлен!
Ваш запрос на доработку модуля отправлен в техническую поддержку. Мы изучим ваши пожелания и дадим обратную свзязь.
Вам придет уведомление на указанный Email.
Here you can share your opinion and evaluate our work.
Your feedback helps us become better and offer you even better service.