1.7.14
Installation
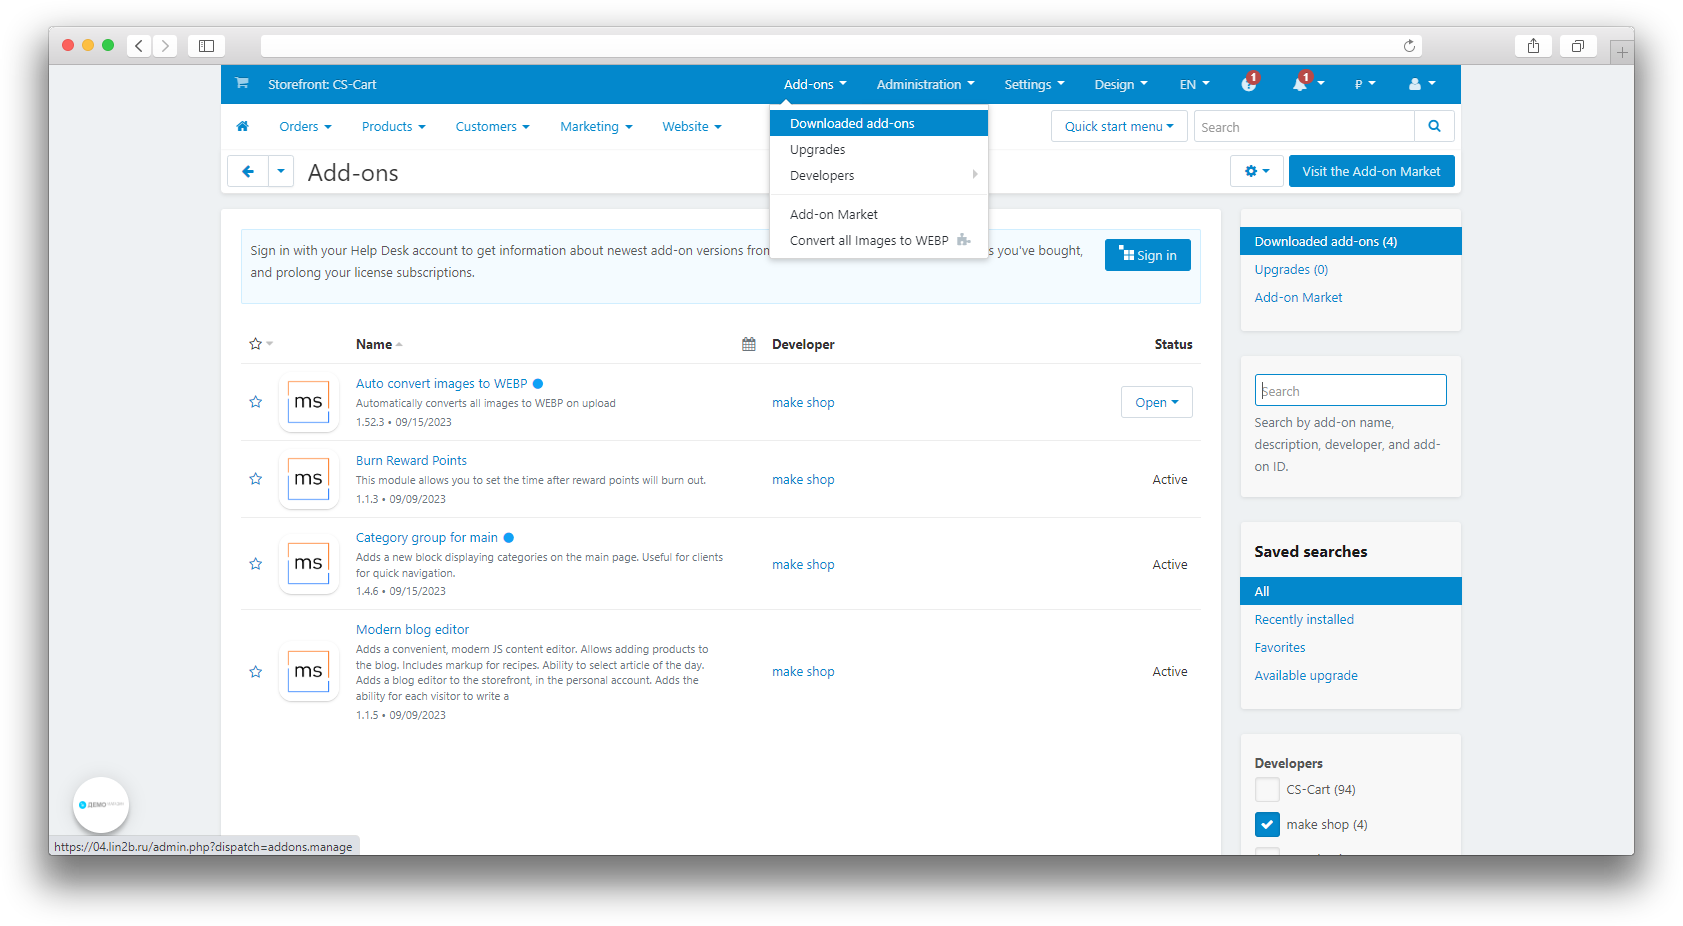
After downloading the add-on , it can be installed using the standard CS-Cart tools on the page Admin panel → Add-ons→ Downloaded Add-ons → Upload and install add-on (+).
For CS-Cart version 4.13.1 and above, go to Admin panel → Add-ons→ Donwloaded add-ons → Gear button → Manual installation.

Installation of hooks
For correct operation, you need to install hooks according to the instructions. The information is collected in the Information tab.
This operation of adding hooks is relevant for the current version of the add-on v.1.7.14 and later; in future versions this operation may no longer be needed.
.png)
You need to insert the hook product_features:ms_feature_label into the file “product_features.tpl”:
- Open the file product_features.tpl
- Its location depends on several variables:
- If you are using a theme UniTheme2 , then the file will be located along the path: public_html/design/themes/abt__unitheme2/templates/views/products/components
- If you are using a theme Youpi , then the file will be located along the path: public_html/design/themes/abt__youpitheme/templates/views/products/components
- If you are using a theme Responsive, then the file will be located along the path: public_html/design/themes/responsive/templates/views/products/components
- If you are using a theme Responsive and you have the AB add-on installed and enabled: SEO pages for filters, then the file will be located along the path: public_html/design/themes/responsive/templates/addons/ab__seo_filters/overrides/views/products/components
- In the file that opens, find the line with the code:
- Before the found line, insert the code:
- After the line you found, paste the code:
- As a result, you should get the following:
- Save the changes to the file;
- Clear cache.
<div class="ty-product-feature__label"> {hook name="product_features:ms_feature_label"} {/hook}{hook name="product_features:ms_feature_label"}
<div class="ty-product-feature__label"><span>{$feature.description nofilter}</span>{if $feature.full_description|trim}{include file="common/popupbox.tpl" link_meta="ty-icon ty-icon-help-circle cm-dialog-auto-size ut2-append-body" id="ut2_features_dialog_`$feature.feature_id`" text=$feature.description content=$feature.full_description show_brackets=false}{/if}</div>
{/hook}noab.png)
Creating and editing a tooltip:
To create and edit a tooltip, you will need the following steps:
- Open the "Products - Features" section;
- Select the feature for which you want to add a tooltip;
- In the opened window, locate the "Description" field;
- Enter the tooltip text;
- Click on "Save.”
.png)
.png)
Connecting a Glossary of Terms:
To make the tooltip text appear on the "Glossary of Terms" page, you need to perform the following actions:
- Open the "Products - Features" section;
- Select the feature for which you want to add a Glossary of Terms;
- In the opened window, locate the "MS: Display in Glossary of Terms" field and check the box;
- Click on "Save.;
- Open the "Feature Groups" section;
- Open the feature group to which the feature, for which you enabled display earlier, belongs;
- In the opened window, locate the "MS: Display in Glossary of Terms" field and check the box;
- Click on "Save.”
.png)
.png)
.png)
.png)
.png)
Now the tooltip will be displayed for the filter on your website, and users will be able to see additional information or explanations when interacting with this filter.
Add-on settings
Design of the appearance of hints:
The add-on offers the following options for tooltip display types:
- Popup: In this mode, the tooltip will be presented as a popup window;
- Tooltip: In this mode, the tooltip will be presented as an extended window with the option to select the dimensions of this window. You will be able to manually set the tooltip window's dimensions to tailor it to your needs.
.png)
When selecting the tooltip color scheme, you have the option to define a light or dark theme that will match the design of your online store.
.png)
Next, you will have the option to choose the Tooltip Display Method:
- By move: In this mode, the tooltip will automatically appear when the user hovers the cursor over the icon.
- By Click: In this mode, the tooltip will open only after the user clicks on the icon.
.png)
When selecting Tooltip, an additional feature becomes available - the ability to set the dimensions of the window.
.png)
In the General section, the following functions will be available:
- Idle Icon Color Selection: You will be able to choose a color for the icon that will be displayed in its normal state (when the user is not interacting with it);
- Hover Icon Color Selection: Here, you can choose the color of the icon when the user hovers the mouse over it;
- Click Icon Color Selection: This option will allow you to set the color of the icon when the user clicks on it.
.png)
Glossary of Terms
In the "Glossary of Terms" tab, you'll find settings related to the functionality and display of the glossary of terms on your website. In this section, you can configure parameters that pertain to the creation and management of the glossary of terms.
.png)
- Show Glossary Link: Adds a link within the tooltip window to access the glossary of terms on your website;
- Open Glossary in New Window: Opens the glossary of terms in a new browser tab when the link is clicked;
- Enable Indexing: Allows search engines to index the content of the glossary of terms, improving your site's visibility in search results;
- Top Header Margin to Target Term: Sets the distance from the top of the page (e.g., the menu) to the start of the glossary of terms;
- Page Scroll Speed to Target Term (in milliseconds): Sets the time it takes for the page to smoothly scroll to the target term when transitioning to the glossary of terms.