Installation
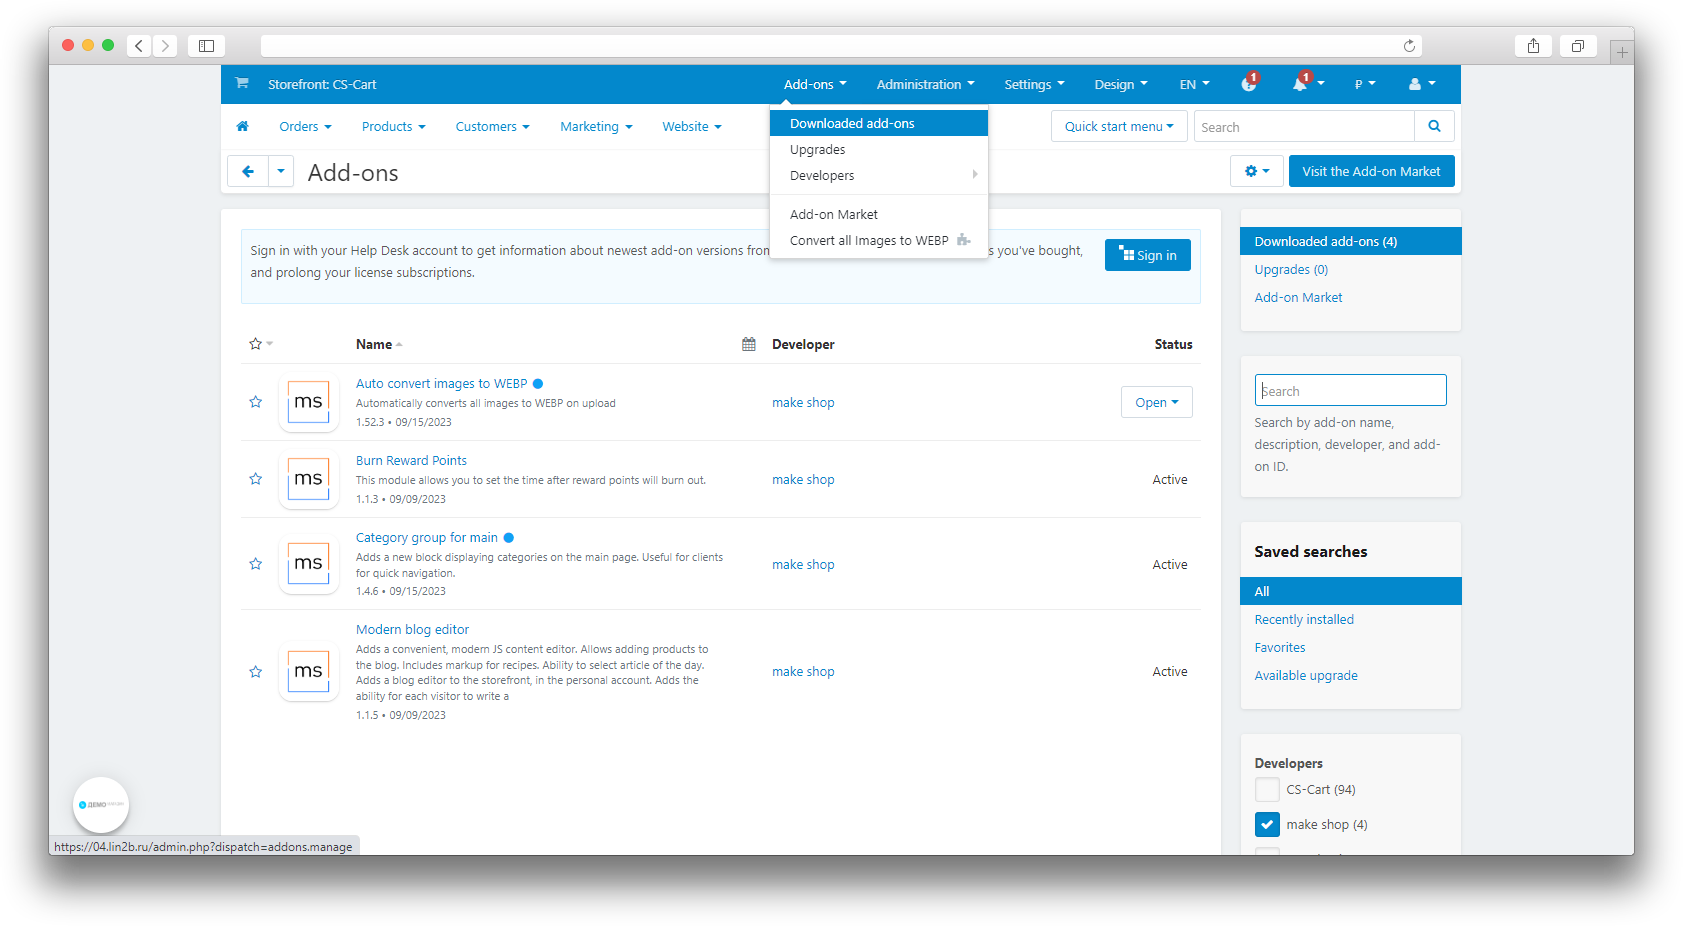
After downloading the add-on, it is installed using standard CS-Cart tools on the Administrator Panel → Add-ons→ Manage add-ons→ Download and install add-on (+) page.
For CS-Cart versions greater than 4.13.1 Administrator panel → Add-ons→ Manage add-ons→ Gear button → Manual installation.
Working with functionality
To view statistics and work with redirects, you need to open the Website → SEO → MS: 404 pages section.
.png)
This page displays all transitions to non-existent pages made by site visitors.
.png)
To set up a redirect you need:
- In the selected line, select Type of redirect:
- 301 - permanent redirect;
- 302 - temporary redirect.
- In the Link to line, indicate the transition address, for example /elektronika;
- Click Save.
.png)
To create a new entry with a configured redirect, you must:
- Click “+”Add;
- In the URL field, indicate the link that needs to be redirected;
- In the Link to field, indicate the URL to which the redirect will lead;
- Select Type of redirect;
- Select Status;
- Click the Save button.
.png)
Editing is done in the same way as creating a new entry or using quick editing directly in the list.
Export/import
The add-on can export the list of redirects to a csv file and conversely import the list from a file. This functionality is available in two ways:
1. In the top menu Administrator Panel page → Administration → Import Data → MS: Import 404 pages.
.png)
Similarly Administrator Panel page → Administration → Export Data → MS: Export 404 pages.
2. From the add-on menu Administrator Panel page → Website → SEO → MS: 404 pages → Gear Menu → MS: Export 404 pages (or MS: Import 404 pages).
.png)
To export, it is necessary to specify which fields except the obligatory redirect_id we will upload to the file. Then write the name of this file and press Export:
.png)
To import using the Load button, select the file to load which should contain fields from the list on the page and then click Import:
.png)